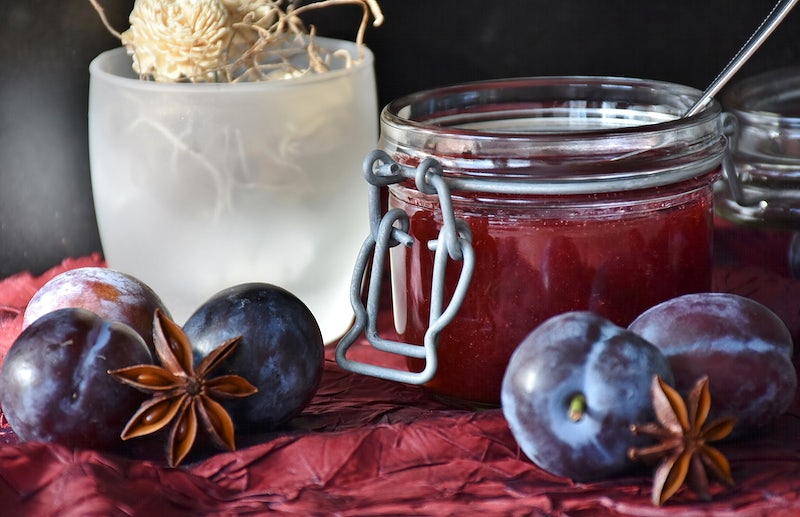
Who hasn’t ever loved a jam? They enhance the aroma and taste of your regular bread by tons, and as every household has at least one of its kind, how about you prepare jam just at home?
Indeed, homemade jams are the way to go for authentic flavors. With a batch of ingredients, patience, and love for them, you can prepare the perfect flavors you desire.
The process may sound challenging, but anyone can make a good batch of a jam if they follow particular rules and instructions. You can make these jams all year round with no added preservatives or artificial sugars.
The Must-Try Homemade Jam Recipe
Yes, preparing homemade jams is quite simple and easy, but they do need your attention. It is a fun process, but storage and preservation might be an issue.
Altogether, you can divide your homemade jam preparation process into four significant steps; choosing fruits, ingredients lineup, preparation process, and preservation.
Choose Your Fruit
One of the best things about jam preparation is that there is no fixed fruit you should use. You can use the fruits you desire or simply use the seasonal fruits available when you make them.
But if you are confused about your fruit choice, below are some tips while choosing the fruits for your jam.
- If you choose fruits high in pectin, it will help to create a perfect texture in your jam. Some fruits containing pectin are apples, plums, citrus fruits, and gooseberries.
- Likewise, if you choose fruits with less pectin, you will need to add green apples to them for the constituents of pectin. Or else you can also buy pectin separately from any supermarket to add it.
- Always choose high-quality seasonal fruits. Here, you should make sure your fruits are ripe and fresh. It is much better if you decide to choose fresh farm fruits.
Ingredients Lineup And Preparation For Jam
While preparing jam, you can use a few ingredients. There will be three essential items on the list; sugar, fruits, and water. Here, you can also add lemon juice or spices as per your choice.

Skin Or No Skin Fruits?
Yes, you can add or not add the skins to your fruits while preparing. If you are looking for a perfectly smooth jam, you should peel your fruits before going on with other steps. However, do not peel the fruits if you are OK with little chunks.
How Much Sugar To Add?
Once you have weighed your fruit, it is perfect for adding a cup of sugar to a kilogram of fruit. Hence, if you have two kilograms of fruits, then two cups of sugar, three and a half kilograms, then three and a half cups, and so on.
This simple trick works even if you have mixed fruits. But it would be best if you also understood which fruits you use. Yes, it is a basic idea, but you can change the sugar quantity depending on the fruits’ natural sweetness, sourness, and personal tastes.
Mix Your Fruits And Add Optional Spices
Now mix all your cut fruits with the sugar. If you are not using pectin, you can leave this mixture overnight. However, if you use pectin, you should add some. If the pectin is natural and homemade, you will need green apples and a bit of lemon juice here.
For extra aroma and nutty flavor, you may add spices such as ground cardamon, star anise, and ground cloves. Leave your mixed ingredients overnight by covering the bowl with plastic wrap as it helps the fruits to soften up, which will later give a soft mixture.
Cook Your Jam
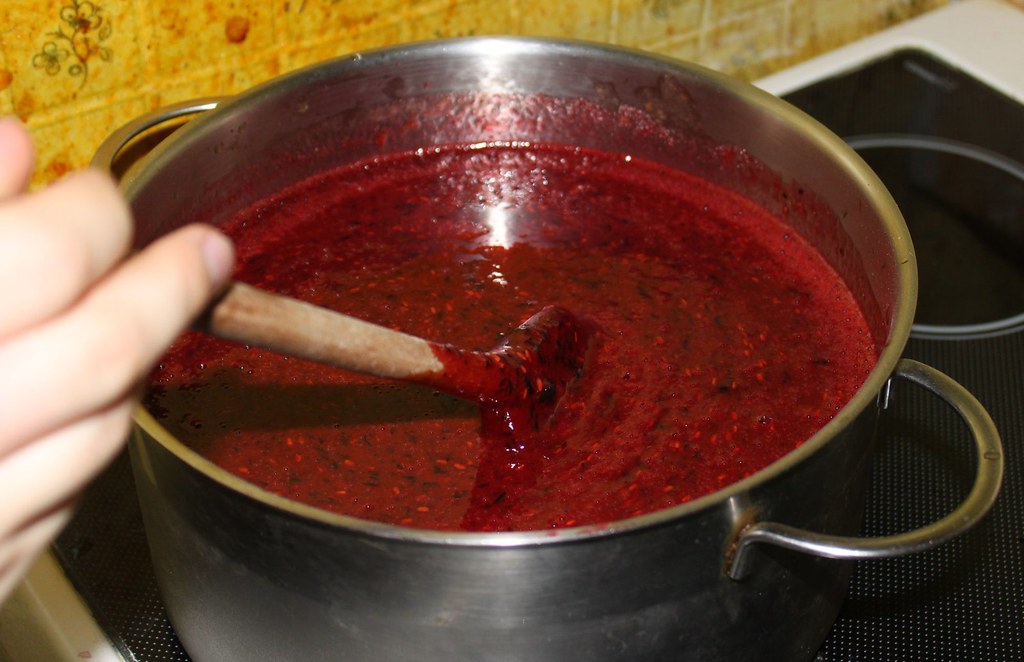
Now add all of your ingredients to a large pot to cook them. As we say, a large pot should be significant, as when you start cooking, it will begin to splatter all over, and a large pot will help it not spill everywhere.

Now, cook them all on medium heat and boil them. Also, while the jam is simmering, smash your fruits slowly and stir them as it helps them to cook evenly. Again, you should lower your heat if your jam has created giant splattering bubbles.
After making it boil, check its consistency, add a small portion to a plate, and let it cool. A while later, run our fingers through the jam; if they join back, you will need to cook it more. However, your jam is perfectly cooked if the jam gets jelly-like and doesn’t join back as you run the fingers.
Prepare For Preservation
As your jam is cooking, it is better to sterilize your glass. First, clean all your jars with soap and water and then put them in a big container. Add some water to it, and on medium heat, boil the water to a simmer and let the jars stay in them for a few minutes.
Do not cool the jars down after it; let them be warm enough to handle a hot jam. This is because when you pour the hot jam into a cool jar, the jar will crack and explode. Also, remember to wear mitts as you might get burned from the hot jam.
As you fill the jar with jam and close the lid, make sure not to keep it too tight and first allow the jam to cool at room temperature. Once it is cooled enough, you can store them in the fridge or a pantry. Good news? They go well for three whole months. Now, enjoy your favorite jam at home!

